As an Amazon Associate, we earn from qualifying purchases. Some links on this site are affiliate links at no extra cost to you. Our recommendations are based on thorough research and editorial judgment.
Top Safety Tips When Using Gaffer Tape
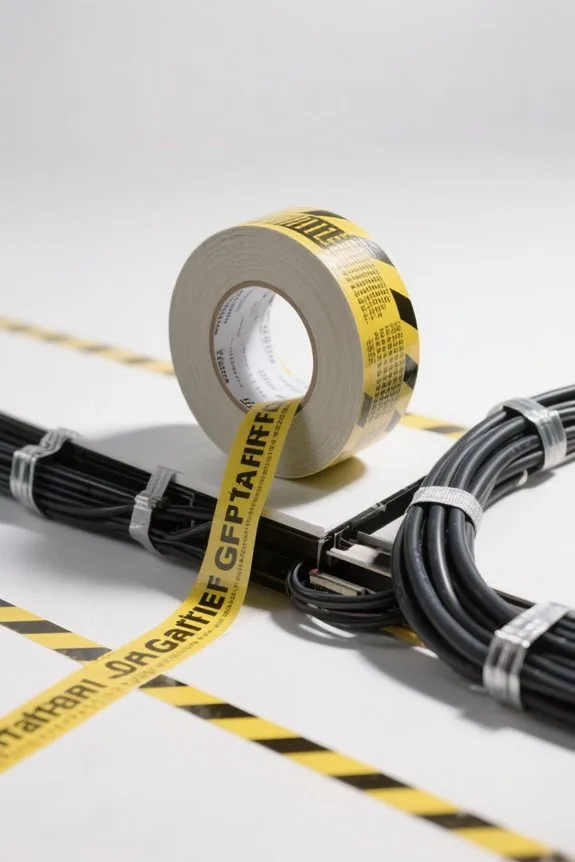
Select tape rated 11‑mil or higher, GT-PREM-02 or GT-STD-01. Inspect rolls for fraying, cuts, buildup, and check expiration dates. Clean surfaces with 70% isopropyl alcohol, wait five min to dry, then perform a 10 cm peel test. Apply perpendicular strips every 8–12 inches and center longitudinal strip for cable bundles. Remove slowly at 2–5 cm/sec, pulling at an angle. Store at 15–21°C and 30–50% RH, keep 150 mm from heat; you can learn more details.
Key Takeaways
- Inspect rolls for fraying, adhesive loss, or damage before use and record findings on the job sheet.
- Clean and dry surfaces with lint-free cloth and 70% isopropyl alcohol; wait five minutes before taping.
- Apply tape so cables lie flat, use perpendicular strips every 8–12 inches, and avoid creating trip hazards.
- Keep tape stored at 15–21°C away from heat sources, rotate stock every six months, and replace softened tape immediately.
- Remove tape slowly at a low angle, use heat to soften adhesive if needed, and clean residue with isopropyl alcohol.
Know the Different Types and Their Uses
You may be interested
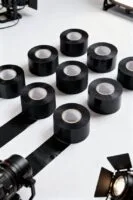
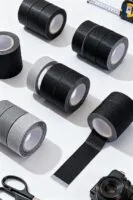

Several common gaffer tape types serve different tasks, including standard-grade GT-STD-01 for general use and premium GT-PREM-02 for heavy-duty projects. Standard-grade GT-STD-01, a cloth-backed 2-inch (48 mm) roll, suits cable securing and marking positions. Premium GT-PREM-02, a 3-inch (72 mm) heavy-duty roll, offers greater abrasion resistance for commercial sets. Colored 1-inch (24 mm) and 2-inch rolls aid cord organization and quick identification. Cloth-backed matte tape minimizes glare and reduces risk of damaging the surface when applied properly. Users should select tape width, test a 2-inch sample, apply with firm 30-second pressure, and allow adhesive set for 10 minutes. For Clean Removal, lift at a 45-degree angle slowly, keeping speed under 2 inches per second. Maintenance logs should record roll code and application location daily. Choose tapes at or above 11-mil thickness for durability in professional use.
Inspect Tape for Damage and Expiration
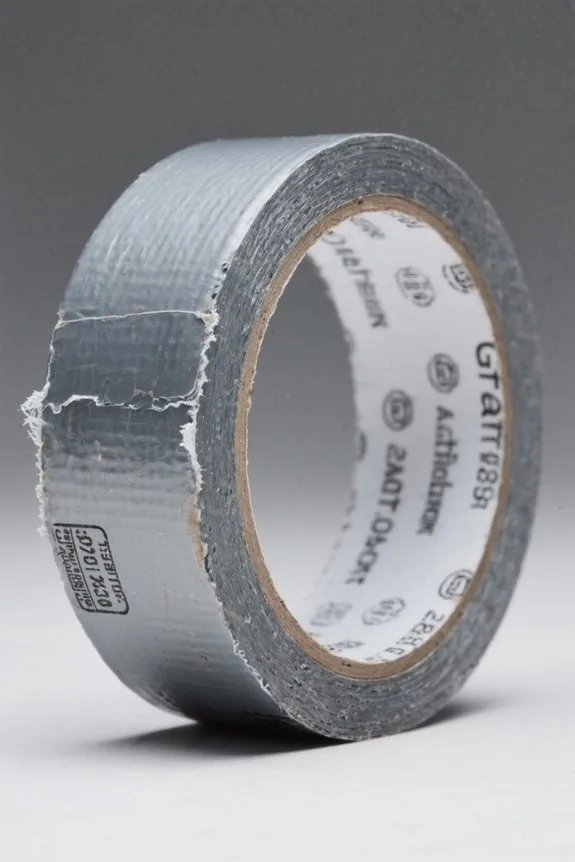
When preparing gear, staff should inspect each roll of gaffer tape GT-STD-01 or GT-PREM-02 for visible damage before use. Technicians should inspect tape for damage by checking for fraying, tears, cuts, adhesive buildup, and edge separation. Visually measure tape width, 48 mm, and note any irregularities along 1 m of tape. Packaging must be checked for an expiration date or printed usage recommendation. If the expiration date is past, replace the roll immediately. Evaluate adhesive by lifting a 25 mm test tab to confirm a strong bond to standard vinyl and fabric substrates. Store rolls at 20°C and 40% relative humidity to extend life. Replace damaged or expired tape promptly to reduce cable management failure and safety risk. Document checks on inventory logs daily. This tape resists abrasion and is suitable for temporary securing in professional settings.
Clean and Dry Surfaces Before Application
After inspecting rolls GT-STD-01 or GT-PREM-02, staff must prepare the floor or equipment surface to guarantee proper adhesion and safety. Clean and dry surfaces are required before applying gaffers tape to avoid adhesive failure and to reduce tripping hazards. Staff should remove dust using a lint-free cloth and vacuum with 2000 Pa suction, covering a 30 cm perimeter around cables. Apply a mild cleaning solution such as 70% isopropyl alcohol with a 10 cm wipe, then wait five minutes to dry. Check for sticky residue after drying and repeat cleaning if any adhesiveness or contamination is visible before final tape placement attempted. You can perform a 10 cm peel test and record cleaning on the job sheet with time and operator initials and date. Choose a durable, heat-resistant tape with no-residue adhesive to ensure clean removal and long-term reliability.
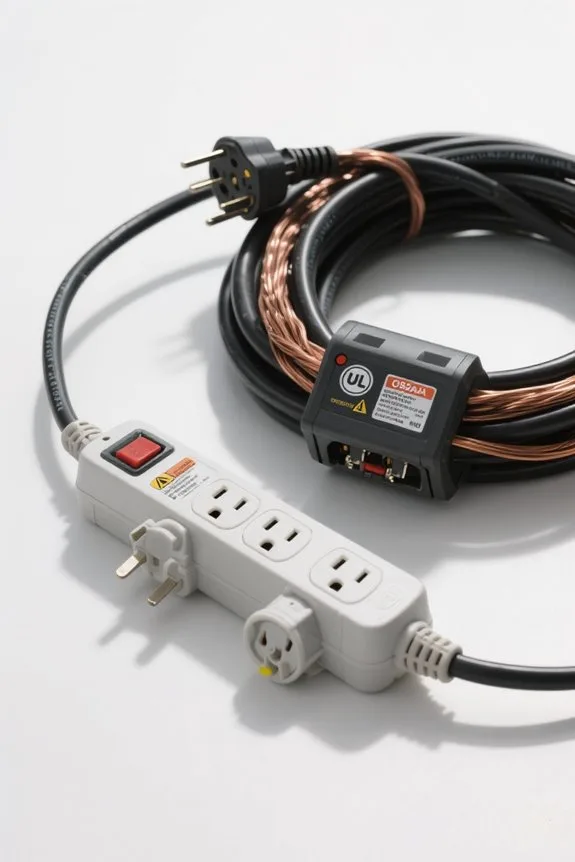
Choose the Right Tape Width and Strength
Tape selection directly affects safety and durability, so staff must choose width and strength based on cable size and foot traffic. Staff should review tape available widths such as 1/2″, 1″, 2″, and 3″ to cover small to large cable bundles. For general use select standard grade GAFF-STD-100, suitable for indoor setups. For heavy-duty situations select premium GAFF-PREM-200 for extra tear resistance. Match adhesive strength to surface; low adhesive strength protects painted floors, high strength bonds to concrete. Check temperature ratings from -31 to 176 degrees Fahrenheit before purchase. Use color coding to mark zones and high-traffic cables. Specify tape length per roll, for example 50 yd, and log product codes for inventory control. Operators should test adhesion on scrap before full deployment onsite. Consider tapes rated for strong adhesion (3.5-4.5 N/25 mm) to ensure reliable performance.
Use Proper Application Techniques for Cables
Several crews should follow Method C for cable runs, applying perpendicular strips every 8–12 inches, then a full-length longitudinal strip centered over the bundle. Crews should clean surfaces first, removing dust and oil for better adhesion, and use GT-488 or GT-500 grade gaffer tape for standard indoor floors. Technicians should position bundles flat, measure run length, then mark perpendicular strip locations at 8, 10, and 12 inches. Install perpendicular strips, pressing firmly, then apply the tape longitudinally centered over the bundle. For larger bundles, add extra perpendicular strips at 6–8 inch spacing. When removing tape, pull slowly at a low angle, so you can remove residue without damaging flooring. Regular inspection every 4 hours is advised to guarantee secure adhesion. Document tape type used. Select gaffer tape that is water-resistant for use in varied conditions.
Reinforce High-Traffic Areas Correctly
When reinforcing high-traffic areas, crews should use Method C, applying perpendicular strips and a centered longitudinal strip over the bundle. Surfaces must be cleaned with isopropyl alcohol 70% prior to taping. Crews should use premium gaffer tape model GT-50PRO, 48 mm wide, 50 m roll. Place perpendicular strips every 150 mm across the bundle. Use a centered longitudinal strip 25 mm overlap on each side. For bundles wider than 100 mm add two extra perpendicular strips at 75 mm spacing. Inspect taped runs every 7 days for wear, peeling, or loss of tack. Replace sections showing damage with the same product code to remain strong enough. Crews should avoid stretching tape during application to preserve adhesion and reduce tripping. Record inspections in maintenance logs. Store rolls sealed at 60-75F (16-24C) and kept flat out of sunlight to maintain adhesive quality.
Protect Sensitive Surfaces From Adhesive Residue
Because gaffer tape uses a natural rubber adhesive formulated for temporary use, crews should apply it only to clean, dry areas. To protect sensitive surfaces, staff should test a 2-inch (50 mm) sample of GM-12 or TapeCo-GF1 on an inconspicuous spot for 24 hours. Step 1: clean area with isopropyl alcohol 70% and dry 60 seconds. Step 2: apply a 2″ strip with moderate pressure, avoiding edges. Step 3: leave no longer than 72 hours on painted drywall or thin vinyl. For delicate finishes, you can use tape on adjacent, less sensitive areas instead. The lower adhesive strength reduces risk of residue or damaging paint compared with duct tape. Record product code, location, and time on a job log sheet. Retain records for reference. Press firmly for 10 seconds during application to ensure good adhesion and residue-free removal.
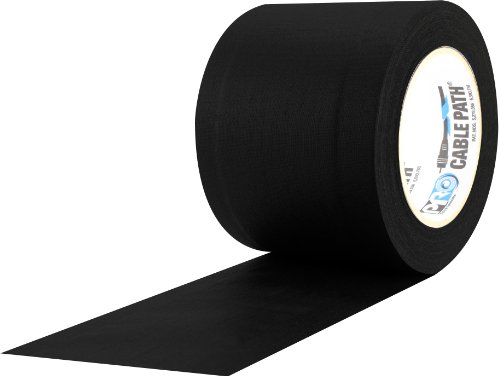
11-mil thick black vinyl-coated cloth gaffer's tape has rubber adhesive on each edge of one side and a smooth, nonstick area between the edges to advance cable and wire

Black 11-mil Premium Heavy-Duty Professional Gaffers Tape.

AUTOMOTIVE VARIETY OF REPAIRS - WOD FTC14 Cotton Electrical Harness Wiring Tape is required in a wide variety of automobile repairs, it produces an enhanced grip when bundling and keeping cables, wires, and connections in an intact condition by holding them tightly and increasing its surface texture to be protected from physical damage caused by friction or split tubing.
Remove Tape Safely and at the Correct Angle
After testing and recording the tape application, staff should remove gaffer tape at a low angle to protect finishes. Technicians should pull it off at a low angle, about 15–30° to minimize surface stress. They should heat the tape surface with a 40–60°C heat gun model HG-150 5–10 seconds to soften adhesive. To remove tape safely, pull slowly at a steady rate of 2–5 cm per second. If tape tears, pause and reheat for 3–5 seconds. Staff should clean residue promptly without leaving marks, using isopropyl alcohol 70% or product code CLN-70, wiping along removal line. You can use a plastic scraper PLS-10 at a 30° angle to lift edges. Avoid fast, forceful removal to prevent paint peel or substrate damage. Follow manufacturer directions. Technicians should also inspect the cord’s strain relief regularly to ensure safe handling.
Store Gaffer Tape to Preserve Adhesive Performance
The team’s storage area should remain cool and dry to prevent adhesive degradation and preserve gaffer tape effectiveness. Staff should store gaffer tape on shelves at 15–21°C (59–70°F) and 30–50% relative humidity. Keep rolls upright, sealed in original packaging or in resealable polybags, label SKU GT-50 or GT-75 and date received. Step 1: place rolls on shelf no more than three high. Step 2: rotate stock first-in, first-out every 6 months. Step 3: inspect each roll for tack loss, edge lifting, discoloration, and reduced adhesive performance. Use a lint-free cloth and compressed air to protect it from dust before sealing. Replace compromised rolls immediately. A log sheet, code LOG-GT, records date, inspector initials, and condition. Routine checks should occur weekly; images saved to archive. For archival-sensitive applications consider using acid-free and lignin-free tapes to protect materials over time.
Avoid Heat Sources and High-Temperature Environments
When exposed to sustained heat, gaffer tape can lose adhesion and present a safety risk near stage lights or heaters. The tape rated −31°F to 176°F (−35°C to 80°C) should not be placed closer than 6 inches (150 mm) to active lamp housings or heater vents. For high-temperature environments, select premium-grade product code GT-176P or equivalent with higher heat tolerance. Steps: 1) Inspect mounting area for heat sources and mark safe zones. 2) Measure clearance with a ruler to guarantee at least 6 inches. 3) Apply tape only to surfaces rated for the temperature. 4) Replace tape every 12 months or after visible softening. Avoid installation where melting, adhesive failure, or fire risk is possible. Maintenance records should note batch numbers and installation dates. Prioritize modular stackable systems for customizable capacity and efficient job site transport.
Train Staff on Best Practices and Emergency Procedures
How should staff be trained to apply gaffer tape using Method C, prevent tripping hazards, and respond to tape-related emergencies? Staff should train staff on Method C step-by-step: measure cable runs to 1 cm tolerance, use 2-inch (50 mm) gaffer tape, product code GT-50, and apply at 45-degree angles every 30 cm. Trainers explain removal by peeling back at 180 degrees, slow at 5 cm/s to avoid skin contact. Include emergency procedures for cuts, burns, and entrapment; keep first aid kit AID-101 within 5 m and an adhesive remover bottle ARM-250 on site. Conduct monthly safety training drills, role-play tape failures, and log feedback in form SR-3. Encourage staff to report hazards immediately so teams can adjust tape placement and reduce risks and audit.
Frequently Asked Questions
Is Gaffer Tape Safe to Use on Skin?
It is safe for temporary use on skin, though Gaffer tape’s adhesive properties can cause skin irritation in sensitive individuals; users should patch-test, avoid wounds, and remove tape gently at low angle to minimize damage.
How Do You Use Gaffer Tape?
Like a sturdy bandage, one tears gaffer tape by hand, cleans surfaces, applies Method C for cable management, follows application techniques, uses removal tips such as mild heat, and considers alternative uses for temporary fixes.
Is Gaffer Tape Safe to Use on Walls?
Yes, gaffer tape is generally safe on walls; its low-tack adhesive minimizes damage. Wall surface compatibility is high, adhesive residue concerns are minimal, and paint finish impact is usually negligible after short-term, carefully tested applications.
Why Is My Gaffer Tape Not Sticking?
Don’t panic — they find gaffer tape not sticking because poor adhesive quality, environmental factors, or inadequate surface preparation; cleaning, pressing firmly, using fresh tape and avoiding moisture or extreme temperatures usually restores reliable adhesion