As an Amazon Associate, we earn from qualifying purchases. Some links on this site are affiliate links at no extra cost to you. Our recommendations are based on thorough research and editorial judgment.
Home Renovation Planning With Extension Item Layout
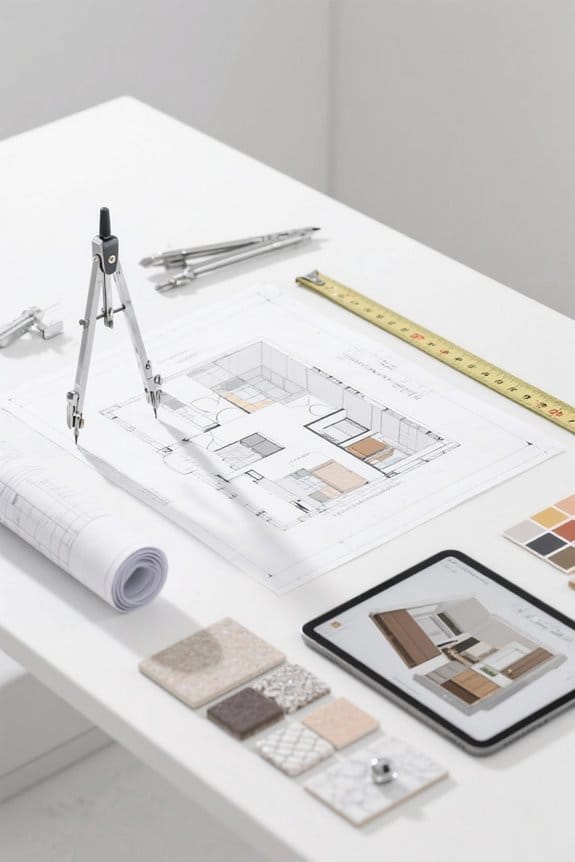
Home renovation planning begins with precise measured plans, 1/8-inch accuracy for walls and 1/4-inch for ceiling heights, noting windows and doors. For a single-story, 8-foot ceiling, design a 12 ft × 15 ft extension with 36-inch clear circulation paths. Specify built-in storage and LED downlights (DL-4LED-900) spaced 4 ft on center, and use Plan7Architect to convert DWG/DXF to 3D. Include permits, structural checks, a 15% contingency, and you can follow phased steps to learn implementation.
Key Takeaways
- Measure rooms to 1/8″ accuracy, recording wall lengths, ceiling heights, and window positions in millimeters and inches.
- Define renovation goals, analyze traffic patterns, and note door swings to preserve clear 36-inch circulation paths.
- Create scaled measured floor plans, import DWG/DXF into Plan7Architect, and update drawings as field conditions change.
- Design extension layouts with built-in storage, layered lighting (ambient, task, accent), and furniture placement to avoid overcrowding.
- Itemize materials, labor, permits, and a 10–20% contingency, then phase work (structural, MEP, finishes) with licensed professionals.
Assessing Space, Goals, and Flow
You may be interested


The planner begins by measuring each room and opening to within 1/8 inch (3 mm) accuracy using a tape measure like Stanley 33-425 or a laser measure such as Bosch GLM 50 C. The planner focuses on evaluating space and records wall lengths, ceiling heights, and window positions in millimeters and inches. They define renovation goals clearly, listing increased living area, improved functionality, or higher resale value. They analyze traffic patterns and note door swings and corridor widths to maintain smooth flow. They draft layout plans that fit within setbacks and codes, and they model home design options including open-concept spaces or storage zones. They revisit plans after feedback, adjusting dimensions and circulation to meet stated goals. They document measurements using Plan7Architect for visualization. They also recommend selecting surge protectors with joule ratings appropriate for high-energy devices.
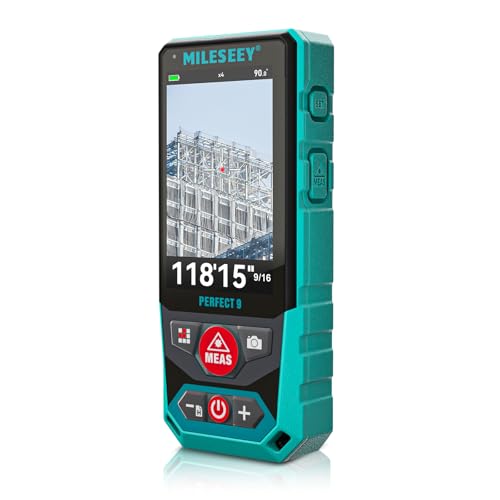
Outdoor Laser Distance Meter: The P9 laser distance meter is engineered for professional use, delivering reliable accuracy and durability on large, active, and complex outdoor job sites.

DIGITAL VIEWFINDER: delivers 5.0 megapixels with adjustable zoom to locate the laser spot at far distances.

【Modular Laser Measuring tool Design】- M-Cube is the ultimate modular multi-function laser measure distance meter with an innovative magnetic locking design that makes switching modules and accessories effortless. Versatile and adaptable for surveying, construction, design, DIY Projects and home renovation.
Creating Accurate Measured Floor Plans
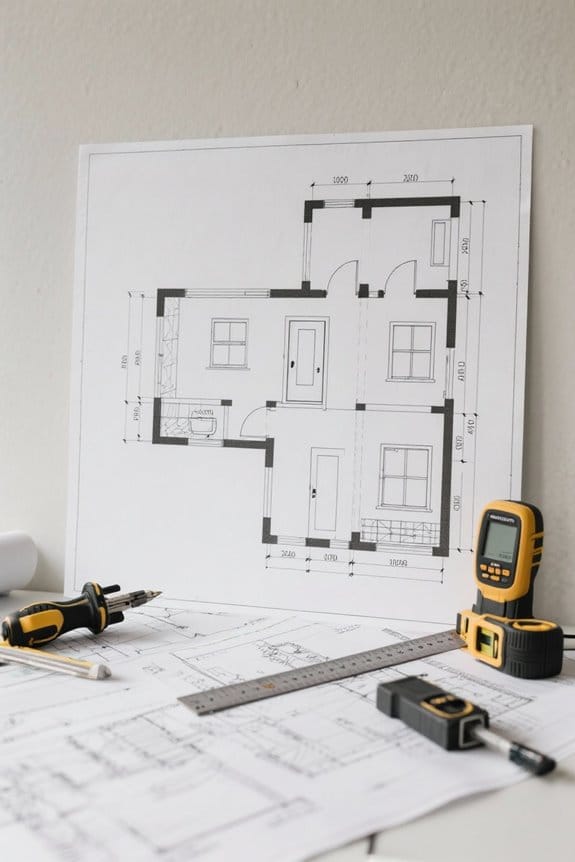
A measured floor plan begins with precise dimensioning, recorded to 1/8 inch (3 mm), using tools such as Stanley 33-425 or Bosch GLM 50 C. The planner measures walls, windows, and doors in sequence, noting lengths to 1/8 inch and ceiling heights to 1/4 inch. Digital capture with Plan7Architect imports DWG and DXF for verification. The team labels fixed elements like plumbing, electrical outlets, and HVAC risers on the drawing. This task appears on every home renovation checklist and supports the planning process. Accurate measured floor plans reduce clashes during interior design and renovation work by confirming clearances and sightlines. The drawing is updated whenever field conditions change, and the final scaled plan guides contractors, permits, and material estimates for the existing space accurately. For electrical planning during renovations, consider cord capacity such as 12-gauge cords, which can handle up to 20 amps.

[Effortless Measuring, Near or Far] Combines a 12ft digital tape measure and a 330ft laser distance meter in one compact tool—no need to switch devices. Easily handle short, detailed measurements for woodworking or long-distance measuring for home renovation, construction, and DIY projects with speed and accuracy

【Wide Range and High-Precision Measurement】 Covering a measurement range from 0 to 200W, it caters to all scenarios from low-power debugging to high-power industrial applications. With measurement accuracy as high as ±3%, it delivers reliable and precise laser power data, making it an essential tool for equipment maintenance and process optimisation.
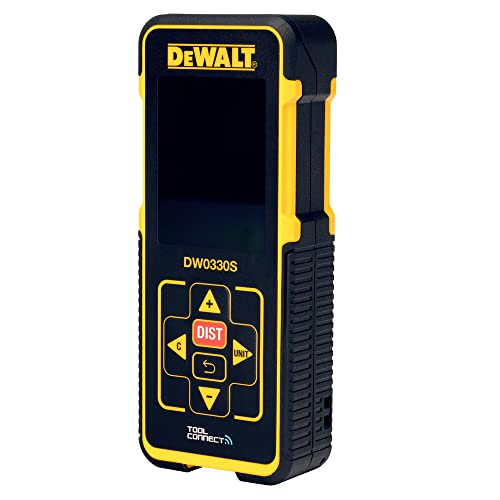
Compatible with DEWALT's Tool Connect™ app to capture measurements, markup photos and create and export projects
Planning Extension Item Layouts: Storage, Lighting, and Traffic
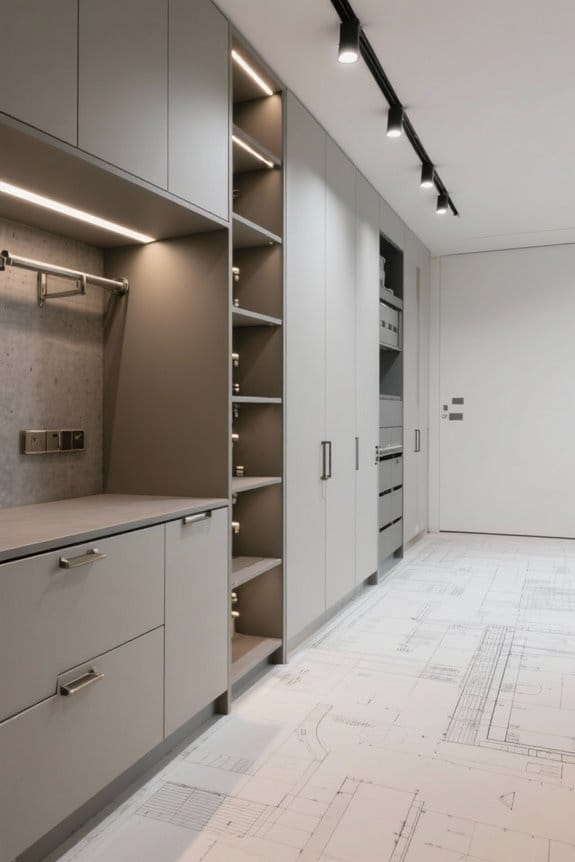
Following measured floor plans recorded to 1/8 inch with tools like the Stanley 33-425 and Bosch GLM 50 C, planners map extension layouts to scale. They specify storage solutions using vertical built-in shelves or cabinetry to maximize space, noting cabinet depths of 12–16 inches and shelf spacing at 12 inches. Lighting is layered with ambient, task, and accent fixtures, listing downlight spacing at 48 inches and task lights over counters at 30–36 inches. Traffic patterns are preserved with clear paths of at least 36 inches, circulation zones marked on plans. Furniture placement is evaluated to prevent overcrowding, keeping 18–24 inches between seating and tables. Multi-functional furniture is noted for dual storage and seating. These steps improve organization and overall usability; you can follow these measurements.
![KoolMore Commercial Stainless-Steel Upright Freezer with Reach-In Self-Close Glass Doors, 6 Storage Shelves, Heavy-Duty Caster Wheels, Frost-Free Temperature Control - 47 Cu.Ft [Silver] (RIF-2D-GD)](https://m.media-amazon.com/images/I/41YcDmVoTeL._SL500_.jpg)
Commercial Glass Door Freezer – This 47-cu. ft. commercial freezer provides plenty of food and drink storage space making it ideal for self-serve kiosk spaces in coffee shops, cafes, supermarkets or grocery stores, restaurants, delis, and more
DURABLE SOLID DOOR CONSTRUCTION: Featuring three solid doors, this freezer ensures durability and effective temperature retention. The solid doors, constructed from 202 stainless steel, provide superior protection for stored items and contribute to the unit's ability to maintain optimal internal temperatures while withstanding heavy use.

Capacity: 138 Wine bottles (750 ml) with 14 shelves, 2 Cooling Zones
Visualizing Changes With Software and 3D Models
Start by importing existing DWG or DXF files into Plan7Architect, setting units to inches and scale to 1/8″ = 1′-0″. The software lets a homeowner create accurate 2D design floor plans, and you can add or remove walls. Next convert the plan to 3D visualization to check spatial and functional relationships. Use the integrated material library to test flooring codes like PLF-1103 and wall finish WF-204. An interior designer or homeowner can identify clearance, sightline, and circulation issues before construction begins. For remodeling projects, annotate dimensions, note door swings at 32″ clear, and mark load-bearing walls for later review. This digital workflow simplifies Home renovation planning, reduces costly rework, and improves contractor communication when decisions are finalized. You can export prints at 1:48 scale. Also consider appropriate extension cords with safety fuses for temporary power during renovation.

4K UltraHD Resolution - Experience incredible detail with 4X the resolution of 1080p Full HDTVs.

Ultimate Dual-Laser Powerhouse: Equipped with a 60W MOPA fiber laser and a 40W diode laser, the xTool F2 Ultra masters all materials effortlessly—including all metals, wood, acrylic, leather, glass, rubber, fabric, and more. It delivers vibrant color engraving, precise 3D deep engraving, and cuts up to 2 mm metal, 20 mm acrylic, and 23 mm wood—one machine that does it all.

The EOV is designed to produce cleaner, smoother, and more professional embroidery results across a wider range of materials. Live Demo Before You Decide is avaliable— Engineer Support Included from Day One.Schedule a free live demo via WhatsApp. Our engineer will run the machine live on video call .You can also search and join our Facebook group “Poolin Official User Group” to connect with EOV owners, access step-by-step YouTube tutorials, and reach our engineer team directly via WhatsApp or Facebook for setup guidance and troubleshooting.
Permits, Structural Issues, and Technical Requirements
After verifying the 3D model, homeowners should begin permit planning by compiling local code documents and site measurements. The plan lists required permits, notes structural issues, and records technical requirements like setbacks of 10 ft and max height 30 ft. Step 1: submit permit application form BLD-101 with site plan and 2 copies of floor plans. Step 2: hire an architectural engineer to evaluate load-bearing walls, and provide calculations per IBC 2018. You can select SIP panels, product code SIP-24×8, for walls to meet R-21. A remodeling firm or general contractor must coordinate inspections at foundation, framing, and final phases. For whole home renovation, document approvals before demolition to avoid code violations and delays. Store sealed engineering reports and permit receipts on-site during construction. Ensure extension cords and temporary power used during the project are ETL/UL-certified and appropriately gauged for the load to reduce fire and equipment risks.
Budgeting, Phasing, and Working With Professionals
Several homeowners establish a clear budget by itemizing materials, labor, permits, and a 10–20% contingency for unexpected costs. The plan lists quantities such as 12 ft x 10 ft drywall (GYP-032) and 30 lb roofing underlayment (RUF-210) with unit prices. Budgeting assigns totals, tax, and a 15% contingency fund line item. Phasing divides work into structural, MEP, and finish stages, for example phase 1: remove wall, install beam 6×8 LVL-600. Professionals include a design-build firm, licensed GC, and an engineer with license ID. They provide project management, schedules, and permit applications. Owners should communicate weekly, review invoices, and compare three bids online. Follow local permits checklist and retain all receipts for compliance. Store contracts in binder A4, label tabs 1-5, scan to PDF daily. Ensure electrical protection by selecting products compliant with UL 1363 for hospital-grade safety.

APPROVED FOR USE IN PATIENT-CARE AREAS WHEN PROPERLY MOUNTED: Supplies power to movable plug-connected components mounted to IV poles, mobile carts, crash carts and mobile medical workstations in operating rooms and patient-care areas. Ideal for operating rooms, administrative areas, patient-care areas, therapy rooms and imaging environments.
6 HOSPITAL-GRADE OUTLETS & 15 FOOT CORD: Six NEMA 5-15R-HG "green dot" hospital-grade outlets provide consistent power. Power cord provides 15 foot / 4.6M length reach to the power source. Features heavy-duty metal housing.

All outlets are hospital grade; Ensures dependable performance
Frequently Asked Questions
How Will Renovations Affect My Home’s Resale Value?
78% of buyers report preferring updated homes. Renovations typically increase resale value, with renovation impact varying by market trends, property appraisal, home improvements quality, neighborhood value and aligning with buyer preferences to maximize higher returns.
What Eco-Friendly Options Reduce Long-Term Utility Costs?
They prioritize solar panels, energy efficient appliances, insulation upgrades, water saving fixtures and smart thermostats, plus sustainable materials and native landscaping to lower consumption, reduce bills, improve efficiency and increase long-term utility savings and resilience.
How Can I Integrate Smart Home Features During Renovation?
Why not integrate smart lighting, automated temperature, security systems, voice assistants, energy monitoring, smart appliances, and home networking during renovation? They plan wiring, central hubs, sensor placement, and bandwidth, scheduling professional installation for seamless control.
What Temporary Living Arrangements Are Recommended During Major Renovations?
They should evaluate temporary housing options, weigh rental properties considerations, consider staying with relatives, compare Airbnb advantages, follow pet accommodations advice, include budgeting for hotels, and coordinate relocation logistics planning to minimize disruption during renovations.
Do Renovation Warranties Cover Workmanship and Materials?
Yes, warranties often cover workmanship guarantees and materials coverage, but warranty exclusions apply; contractor obligations, renovation insurance, clear claim processes and defined warranty duration determine remedies and claimability. Consumers should document defects and seek confirmation.