As an Amazon Associate, we earn from qualifying purchases. Some links on this site are affiliate links at no extra cost to you. Our recommendations are based on thorough research and editorial judgment.
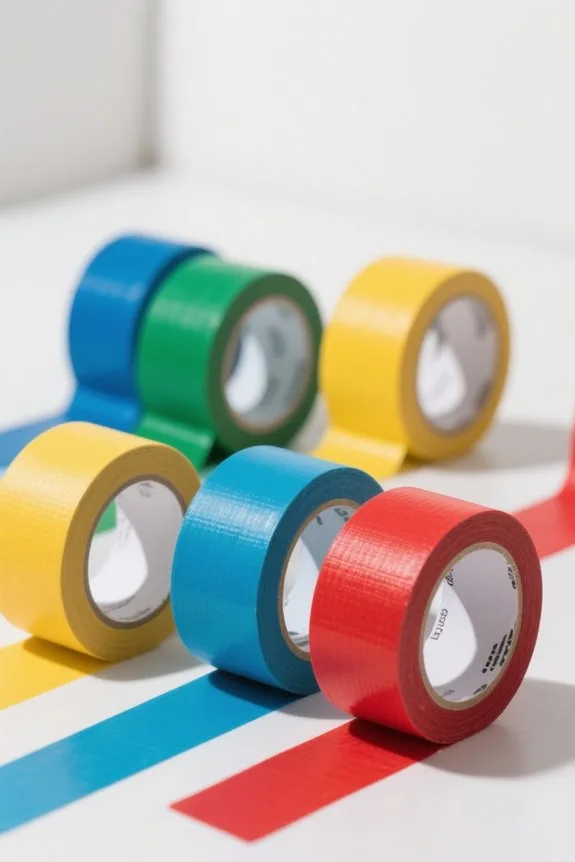
Color Coding Strategies With Gaffer Tape in Home Organization
The system uses color-coded gaffer tape (GP-150, 1.5 in, 4 in) to sort rooms. Assign fluorescent yellow for seasonal décor, green for tools, blue for bathrooms, red for kitchens, white for documents. Place 4-inch strips at eye level on box fronts, short sides, 1.5 m apart on stacks. Write contents, weight, F for fragile with a permanent marker. For cables use 1-inch tape every 6 inches and tag both ends. For more details continue below.
Key Takeaways
- Assign distinct fluorescent colors to rooms or item categories (e.g., yellow seasonal, green tools, white documents) to speed visual sorting.
- Apply 4-inch strips at eye level on boxes and large items for high visibility and consistent identification.
- Create and display a printed color key linking tape colors to rooms, contents, fragility, and weight codes.
- Use 1-inch tape strips every 6 inches to bundle cables, plus color-coded tabs to identify function or owner.
- Choose gaffer tape (GP-150/GP-50) for strong adhesion and clean removal, preventing residue during future reorganization.
Benefits of Color Coding With Gaffer Tape
You may be interested

Several household areas benefit from color coding with 2-inch (48 mm) gaffer tape, model GP-150, applied in 4-inch (10 cm) strips. The method improves home organization by allowing fast visual sorting of bins, cords, and tools with brief training. Installers should measure, cut 4-inch (10 cm) strips, press firmly, and label edges; you can update labels tool-free. Using different fluorescent colors helps mark seasonal décor, urgent items, or maintenance supplies for easy retrieval. The GP-150 gaffer tape removes cleanly, leaving no sticky residue, and adheres well on fabric, plastic, and wood. Its durable construction resists foot traffic and moisture, ensuring long-lasting color coding that will prevent confusion in spaces. Apply labels in consistent locations 1.5 meters apart to maintain orderly, repeatable identification patterns daily. For replacement and maintenance planning, remember that related lead wires are commonly recommended to be replaced every 4-6 months to ensure reliable connections.
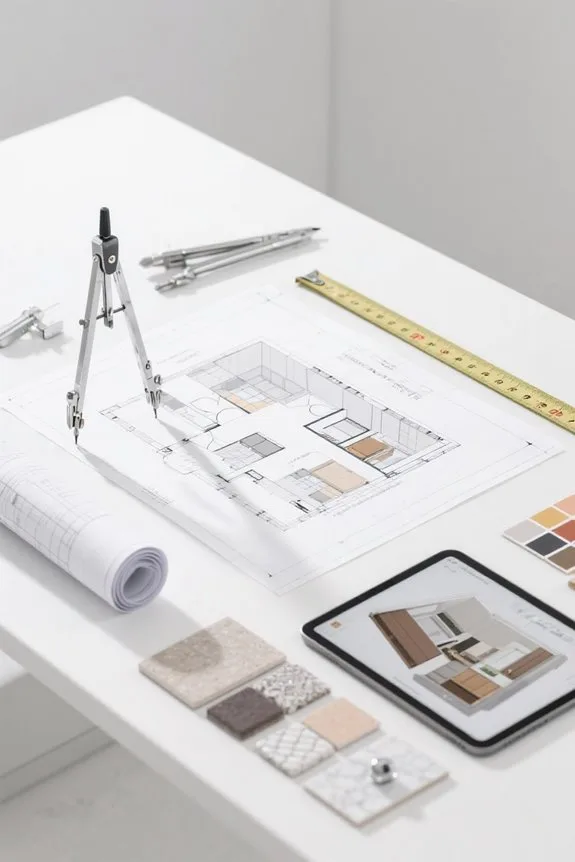
Choosing the Right Colors for Every Room
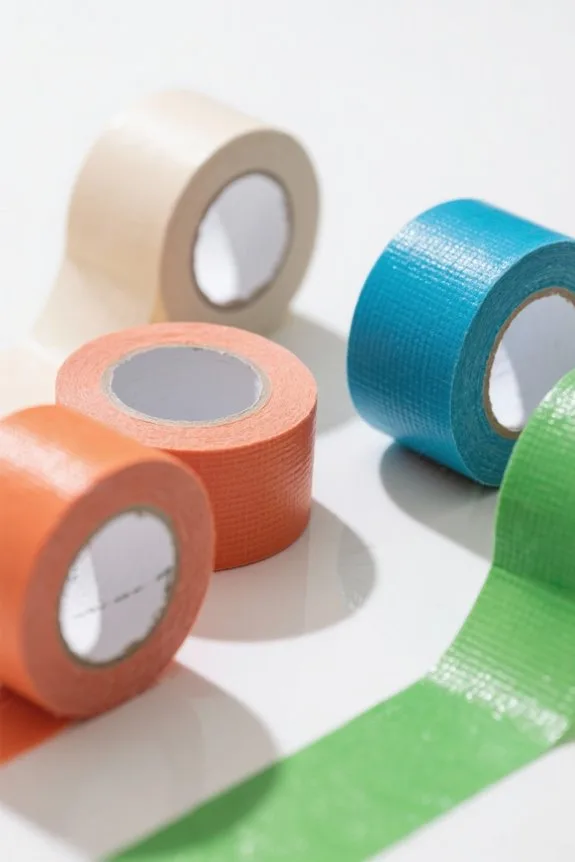
How should colors be assigned to each room when using GP-150 gaffer tape applied in 4-inch (10 cm) strips? A simple plan assigns fluorescent yellow (GP-150) for seasonal décor, fluorescent green for tools and hardware, and white for important documents. Use blue for the bathroom, red for the kitchen, and orange for the living room. The guide recommends cooler tones for calming areas and warmer tones for activity spaces. For a home office, select a distinct tape color and document the choice in a central legend for organization. When using colored tape, guarantee different colors are visually distinct to avoid confusion. For moving boxes, apply color coded strips to box tops, four-inch (10 cm) wide, so movers can sort quickly. You can adjust choices. Choose a tape that offers residue-free removal to prevent sticky buildup over time.
Recommended Products

Made of high quality cotton cloth, waterproof, strong adhesion and durable.

6 Vibrant Neon Colors & High-Quality, Economical Tape – This 6-pack of premium UV blacklight reactive neon gaffer tape (0.6 inch x 15 ft per roll) includes 6 distinct colors (Blue, Green, Yellow, Orange, Pink, Purple) that glow brightly under UV light. Perfect for creating dazzling effects on parties, dance floors, theaters, and DIY projects. Durable, residue-free, long-lasting, and safe for use on all surfaces, both indoors and outdoors. Ideal for vibrant designs, marking areas, or decorating any event.

MADE IN THE USA PROFESSIONAL GAFFERS TAPE – This gaffers tape is made in the United States and built to professional specifications, making it a dependable choice for stage, film, live events, and production work where consistent materials matter.
Labeling Moving Boxes and Large Items
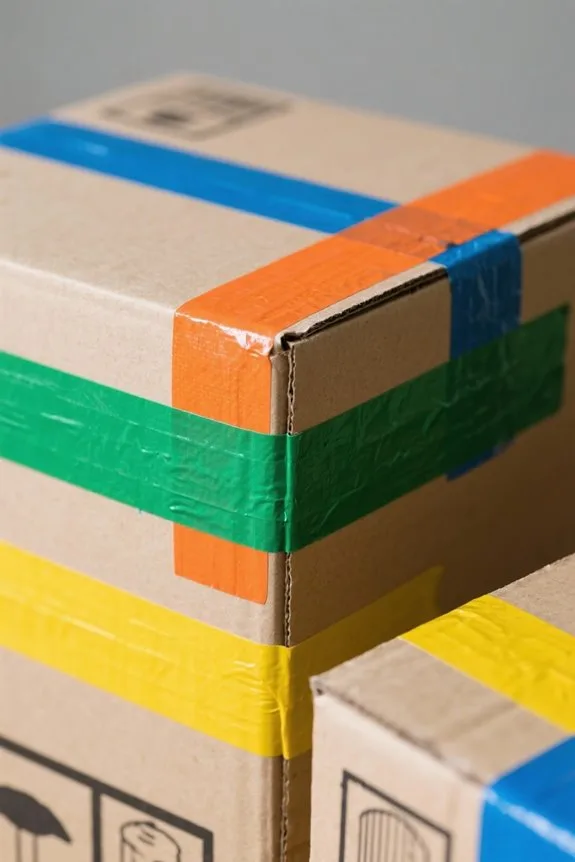
One simple system uses 4-inch (10 cm) GP-150 fluorescent yellow strips for seasonal décor, fluorescent green for tools and hardware, and white for important documents. This method pairs color coding with clear labeling on moving boxes and large items to improve organization. Staff should apply one 4-inch strip to each box side at eye level for high visibility. A printed color key links tape color to room names and box categories, such as kitchen, bedroom, garage. Labels should include contents, approximate weight in pounds, and fragility status using short codes. During the unpacking phase movers match tape color to the color key and place boxes directly into correct rooms. This step-by-step routine reduces confusion and speeds placement in the new space and final organization. For outdoor moves choose tapes with UV protection to ensure color and adhesive durability.
Recommended Products

Size and Quantity: 3 x 2 inches (7.5 x 5 cm) rectangle colored labels stickers, 256 color stickers in 32 sheets, one sheet of 8 stickers, 32 pcs residue-free labels for each color.

Complete Moving Organization System: 800 color coded moving box labels designed to organize and identify every box fast. These room ID labels for moving boxes make sorting, unloading, and room placement simple for homeowners, movers, and apartment relocations.

PACKAGE CONTENTS: Set of 200 rectangular colored Labels in 10 vibrant colors, perfect for organizing and labeling moving boxes and storage containers
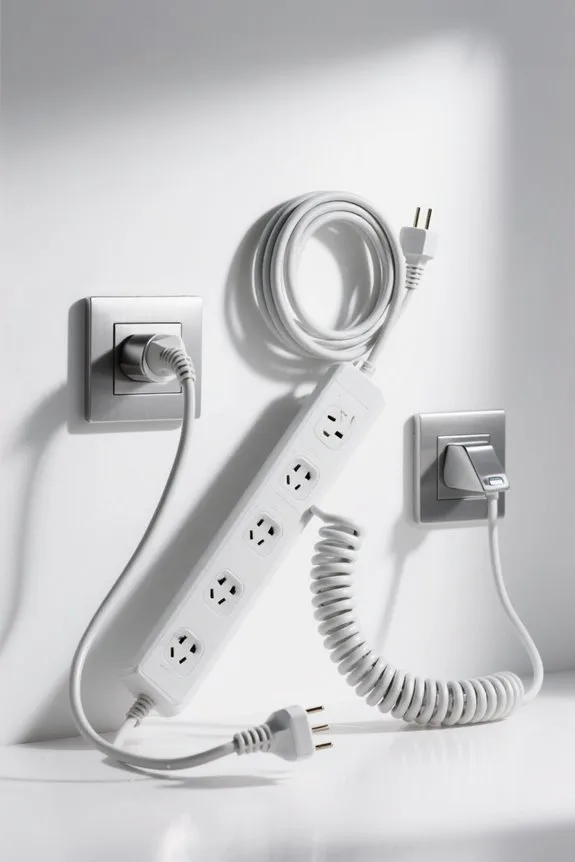
Cable Management and Workspace Organization
After labeling boxes, attention shifts to cable management and workspace organization using colored gaffer tape like GP-150 and GP-50. The technician recommends 1-inch strips of colored tape every 6 inches to bundle cables, and 0.5-inch tabs to mark connectors. Gaffer tape enables quick color-coding of power, data, and audio lines. To secure runs under a 30-inch desk, apply a 2-inch long strip over each bundle at 12-inch intervals. Adhesion is strong and allows residue-free removal when swaps are needed. Steps: separate cables, group by function, wrap a 1-inch band, attach to underside with a 2-inch anchor, and labeling cables at each end with a colored tape tab. This reduces tripping hazards and improves workspace organization clearly. Color-coding speeds maintenance and supports efficient troubleshooting tasks. Choose tapes with residue-free removal to avoid surface damage and simplify swaps.
Recommended Products

POCKET-SIZE SPIKE TAPE FOR QUICK MARKING ON THE GO: Compact 1/2 inch rolls fit easily in your pocket, tool bag, or kit for fast, precise marking, labeling, and color coding wherever you work

STRONG HOLD, CLEAN REMOVAL – NO RESIDUE; Secure cables, wires, and equipment with confidence. This professional-grade gaffer tape sticks firmly during use and removes cleanly without leaving sticky residue or damaging surfaces.

11-mil thick gray matte cloth gaffer's tape with rubber adhesive conforms well to irregular surfaces for labeling, and temporary securing and sealing applications
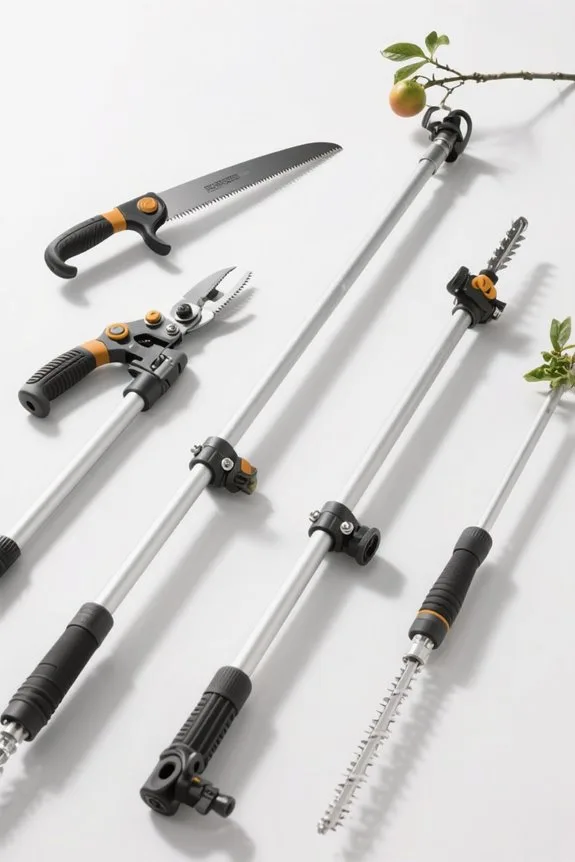
Quick Repairs, Crafting, and DIY Uses
When small damage occurs, a technician can use GP-150 or GP-50 gaffer tape for quick, residue-free repairs around the home. Cut a 2-inch (50 mm) strip with scissors. Press firmly for 10 seconds to guarantee adhesion. For crafting, you can layer 1/4-inch (6 mm) decorative strips to build patterns. For DIY Projects to create storage, mark a 12-inch (30 cm) board with 3-inch (7.6 cm) spacing, then apply color coding strips to label items and organizing tools. Use gaffer tape to bind loose fabric edges or secure a cracked plastic bin. The non-reflective surface keeps signs and temporary labels matte. For cable tags, wrap a 1-inch (25 mm) tab around each cable, write with permanent marker, and press to seal. Replace tape every six. For best results choose tapes with rubber adhesive which provide strong adhesion while generally removing cleanly.
Recommended Products

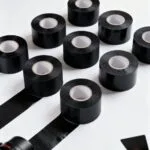
PROFESSIONAL-GRADE HOLD, CLEAN REMOVAL - Premium black gaffer tape with a strong, reliable adhesive that holds cables, cords, and equipment securely while removing cleanly with no sticky residue—ideal for stage, studio, and theater use.

Strong Adhesion with No Residue - Sticks firmly to surfaces like walls, floors, and carpets but removes cleanly without leaving sticky residue behind

STURDY AND SECURE SETUPS: Perfect for event setups, our 1.88 inch gaffing tape firmly anchors cables, props, and equipment with unbeatable hold. Easy to tear, residue-free, and built tough - it’s the backstage essential for seamless execution.
Safety, Floor Marking, and Event Applications
Several bright strips of GP-150 or GP-50 gaffer tape can mark hazards and walkways, increasing visibility in homes and event spaces. Use 2-inch tape in 6-foot lengths to create paths, placing strips every 3 feet for floor marking. For hazard outlines, apply a 1-inch border two inches from edges, using high-contrast color for safety purposes. In performance venues choose non-reflective black gaffer tape to maintain visibility without glare and reduce distractions onstage. For events, mark queue lines with 12-inch markers spaced 6 feet apart, so attendees can see positions. Remove tape after use, peel at 45°; low-residue adhesive makes it easy to remove, thereby avoiding damage. You can store rolls labeled by color in shallow bins with inventory tags, allowing quick deployment and maintenance. For longer-lasting results consider using tape with 6 mil thickness for improved durability on high-traffic areas.
Recommended Products

DESIGNED CHAMPION STRONG - Quickly and easily define any space with this Floor Marking Vinyl Tape from Champion Sports! With 60 yards of 1-inch wide tape, you will be able to define classrooms or gym courts with straight lines and curves

Super Strong Holding Power With Easy Removability; Leaves No Messy Residue On The Used Surface

11-mil thick black matte cloth gaffer's tape with rubber adhesive conforms well to irregular surfaces for labeling, and temporary securing and sealing applications
Frequently Asked Questions
What Is the Purpose of Gaffer Tape?
Gaffer tape secures, marks, and organizes items; Gaffer tape benefits, Gaffer tape applications, Gaffer tape alternatives, Gaffer tape colors, Gaffer tape durability, Gaffer tape ease, Gaffer tape costs, Gaffer tape versatility guide selection and practicality.
Can You Use Gaffer Tape on Painted Walls?
Yes, 75% of users report successful Gaffer tape application on painted walls. It aids Wall protection techniques, Temporary labels, Decorative uses, and Color coding methods; Surface compatibility and Removal tips favor Ideal surfaces when clean.
What Temperature Can You Use Gaffers Tape?
It works between minus 31 and 176 degrees Fahrenheit. Gaffer tape durability, Gaffer tape applications, Gaffer tape colors, Gaffer tape vs duct, Gaffer tape adhesion, Gaffer tape materials, Gaffer tape removal, Gaffer tape uses useful.
Does Gaffer Tape Leave a Residue?
No; a theater tech removed gaffer tape from a painted set without residue. residue removal techniques, gaffer vs. duct, tape adhesion qualities, surface types, gaffer tape brands, temporary vs. permanent, application tips, eco friendly options.