As an Amazon Associate, we earn from qualifying purchases. Some links on this site are affiliate links at no extra cost to you. Our recommendations are based on thorough research and editorial judgment.
Gaffer Tape Residue: Methods of Clean Removal
The guide recommends testing on a 1 cm square, wearing nitrile gloves and eye protection. You can peel tape slowly at a 45° angle, lifting at 2 inches per second. For residue, apply 4 oz Goo Gone (GG-4) or 70% isopropyl alcohol with cloth, wait 60 seconds, then scrape with a single-edge razor held flat. Use warm soapy water (1 tsp dish soap per cup) to rinse, or Torch fuel as backup. More techniques follow.
Key Takeaways
- Test adhesive removers on an inconspicuous spot and document surface, product, and results before full treatment.
- Peel tape slowly at a 45° angle, lifting about two inches per second to reduce residue and surface stress.
- Soften adhesive first with warm soapy water or gentle heat (hair dryer) to make removal easier.
- Apply Goo Gone or 70% isopropyl alcohol for stubborn residue, then scrape gently with a plastic/dull scraper and wipe clean.
- Use nitrile gloves, eye protection, ventilation, and consult manufacturer data sheets for sensitive surfaces before using solvents.
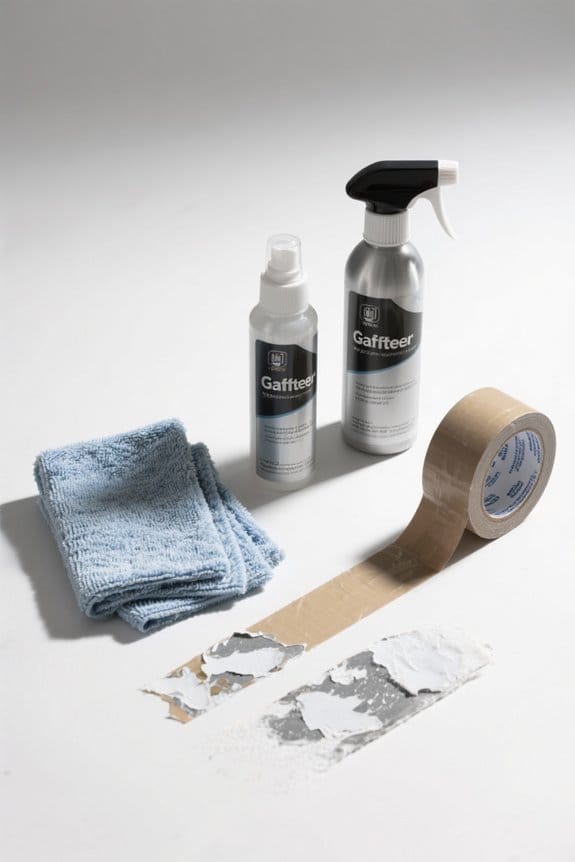
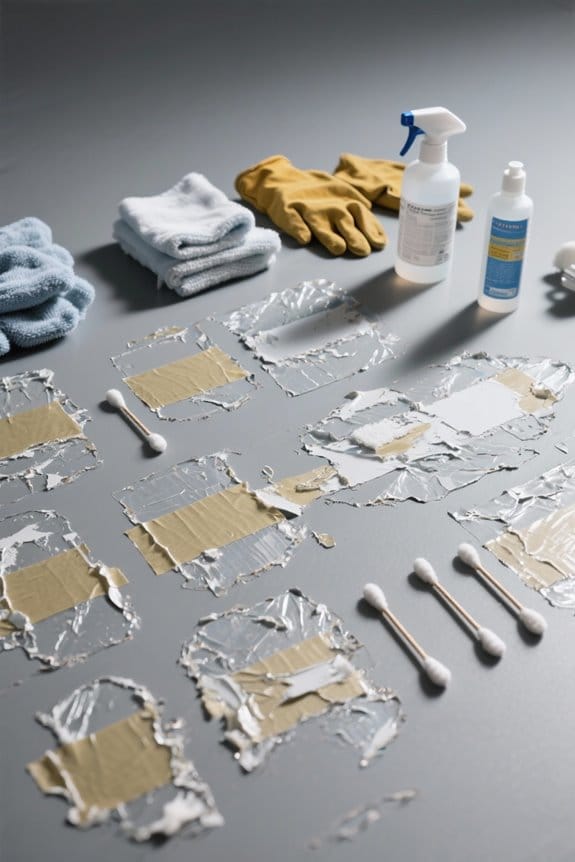
Supplies You’ll Need
You may be interested
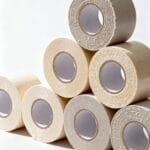
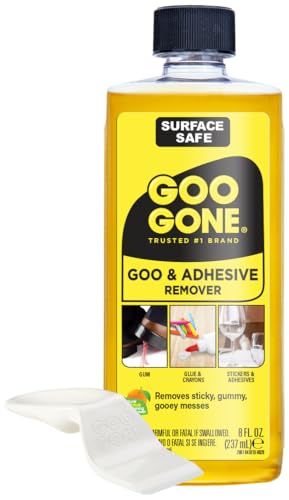
A small kit should be assembled before starting, containing adhesive remover (Goo Gone or equivalent), 70% isopropyl alcohol, and Tiki Torch fuel as an alternative solvent. The kit should include a soft cloth, a single edge razor scraper, and nitrile gloves for protection. For liquids, carry a 4 oz bottle of Goo Gone and a 4 oz bottle of 70% isopropyl alcohol (IPA-70). A jar of Tiki Torch fuel (TF-8) serves as a backup solvent for stubborn adhesive residue. Warm soapy water prepared with one teaspoon mild dish soap per cup of warm water is useful for initial softening. A spray bottle of clean water and a lint-free towel are required for rinsing and drying. Optional items include white vinegar and mineral spirits for sensitive surfaces. Choose supplies that emphasize rubber adhesive for secure hold without leaving residue.
Recommended Products

Thick Spray Gel for adhesives: Goo Gone Adhesive Remover Spray Gel, which won a 2026 Good Housekeeping Cleaning Award, clings to surfaces to dissolve tough sticky messes like glue, stickers, labels, tape residue, gum, grease, wax and decals. The gel formula & glue remover works quickly to loosen adhesives for easy wipe-away cleanup.
#1 TRUSTED BRAND FOR REMOVING GOOEY MESSES: Try it on stickers, wax, markers, crayons, glue, tar, window decals, glitter, gum, labels and so much more
EFFECTIVE ON TOUGH MESSES – Removes silicone caulk, adhesives, sealants, tree sap, wet paint, glue, asphalt, ink, marker, soot, tar, wax, and grease/oil with ease.
Understanding Different Tape Types and Adhesives
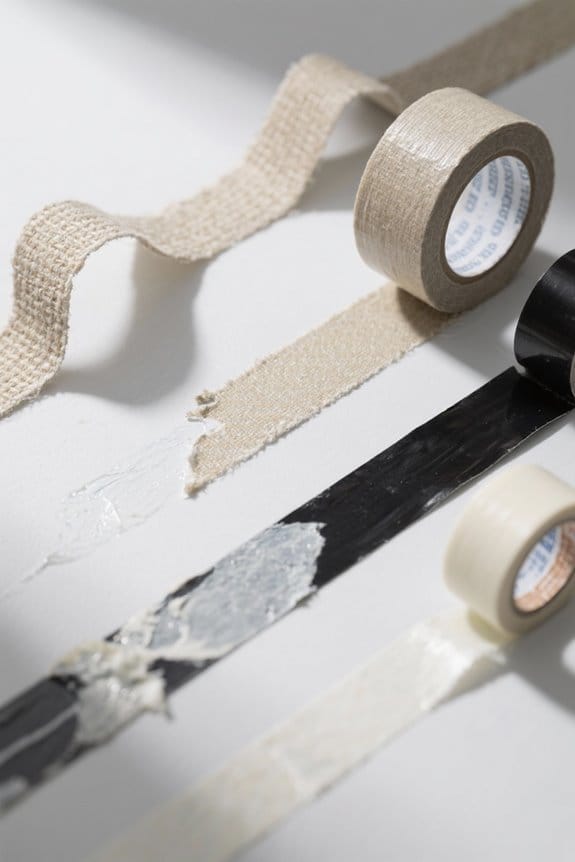
While gaffer tape is formulated for temporary, residue-free use on film sets, improper removal can leave adhesive when left over 72 hours. The section compares gaffer tape, adhesive tape types, and likelihood of tape residue. It lists properties: low-residue cloth adhesive, removable acrylics, permanent adhesives. A table-like list follows: 1) Gaffer tape – cloth carrier, solvent-resistant acrylic, low residue. 2) Painter’s tape – paper carrier, water-based adhesive, easy peel. 3) Vinyl/safety – PVC carrier, permanent adhesive, may need solvent. For remove adhesive steps: test a 1 cm square, apply solvent PF-2000 or isopropyl 70% for 10 seconds, blot with lint-free cloth, repeat up to 5 times. Use care to avoid finish damage. Surfaces like painted wood or fabric may immediately require professional cleaning services. For heavy-duty jobs, many professionals prefer gaffer tapes with high tensile strength to ensure durability and reliable hold.
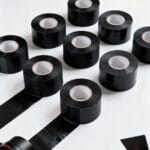
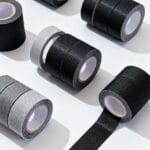
Recommended Products

PROFESSIONAL-GRADE HOLD, CLEAN REMOVAL - Premium black gaffer tape with a strong, reliable adhesive that holds cables, cords, and equipment securely while removing cleanly with no sticky residue—ideal for stage, studio, and theater use.

Strong Adhesion with No Residue - Sticks firmly to surfaces like walls, floors, and carpets but removes cleanly without leaving sticky residue behind

Gaffer's tape for securely bundling, wrapping, and concealing cords, cloths, backdrops, and more
Test Areas and Safety Precautions
Starting with a 1 cm square test area, technicians should always test adhesive removers on an inconspicuous spot. They select test areas on edges, hidden corners, or behind fixtures. Use a cotton swab or soft cloth and apply 1 drop of solvent. Wait 60 seconds, blot with a clean cloth, and inspect for discoloration or finish change. Record surface type, product name, concentration, and result. For painted surfaces, choose milder solvents first and avoid acetone unless test is safe. Safety precautions include using gloves, eye protection, and good ventilation. Be cautious with rubbing alcohol on high gloss finishes. If uncertain, you can consult manufacturer data sheets before proceeding. Document dates, photos, product codes, and outcomes of each test to build a reliable future reference. For many applications, choosing residue-free tapes like SWRT or XFasten can significantly reduce the risk of adhesive left on surfaces.
Manual Peeling and Gentle Scraping Techniques
Technicians should pull the tape slowly at a 45-degree angle to reduce chance of tearing. Manual peeling begins at a corner, lifting steadily at two inches per second for removal. Fingers should remain three to four inches from surface to avoid pressing adhesive into finishes. If scraping is required, use gentle scraping with plastic card or 2 mm blunt scraper, PSC-02. Work at a low angle, apply minimal pressure, progress in 1–2 inch sections to prevent gouging. Always test on a 1 inch square inconspicuous area before full treatment to gauge surface reaction. After removal, remove tape residue by repeating light scraping and wiping with isopropyl alcohol 70%, IPA-70. Avoid metal blades and heavy pressure which cut or craze finishes, stopping if discoloration appears. Store gaffer tape in a cool, dry place to maintain adhesive integrity.
Recommended Products

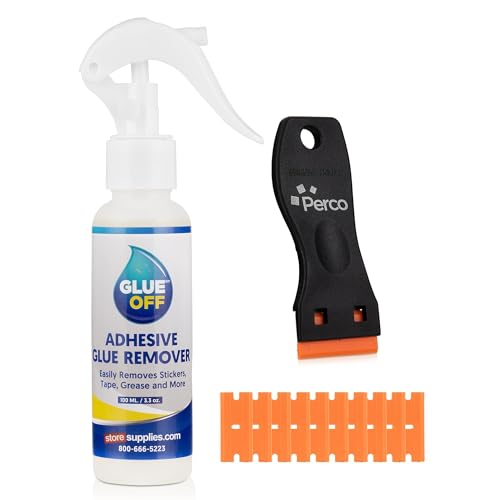
DURABILITY: The strength and stiffness of the plastic blade are made of high-quality thermoformed plastic, which is lightweight, providing you with a strong and enduring design structure with more flexibility.
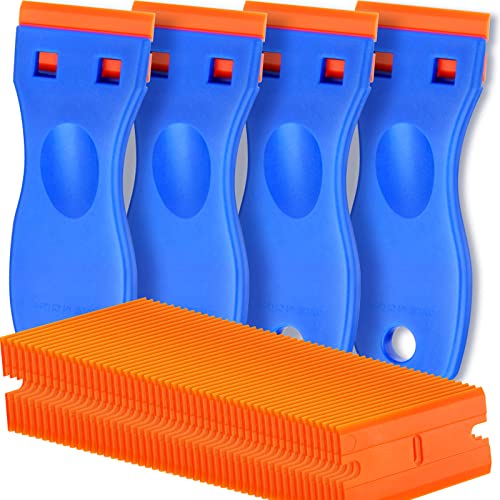
A VERSATILE TOOL: Scraper tool is ideal for removing vinyl, debris, decals, sign, glue, stickers, labels, grease and paint from glass, walls, appliance, metal, oven and more. These plastic scrapers work great for removing labels, dripped wax, and even melted plastic from 3D printer beds. You'll find the scraper tool a useful little tool. Very handy

EASY RESIDUE REMOVAL – Quickly scrape off stickers, labels, decals, and adhesive without damaging delicate surfaces. Perfect for glass, windows, and car surfaces.
Using Heat to Soften Adhesive
When adhesive proves stubborn, applying controlled heat can soften residue for safer removal, so you can work with less scraping. A hairdryer or Heat gun set to 200°F (93°C) is recommended, held 3–4 inches (7–10 cm) above the Tape surface in short 10–15 second bursts. Monitor temperature with a non-contact IR thermometer, model IR-T1, to avoid exceeding 250°F (121°C) on painted or plastic surfaces. After heating, use a dull plastic scraper or fingernail to lift softened Residue, working from one edge toward the center. Repeat heating cycles as needed, allowing 5–10 seconds cooling between bursts, and inspect the surface visually before proceeding. This method suits glass and metal, where controlled heat will Remove adhesive without marking the substrate, test first on an inconspicuous area. For heavy-duty workshop use, choose tools and storage made from durable materials such as extruded aluminum to withstand rugged garage environments.
Recommended Products
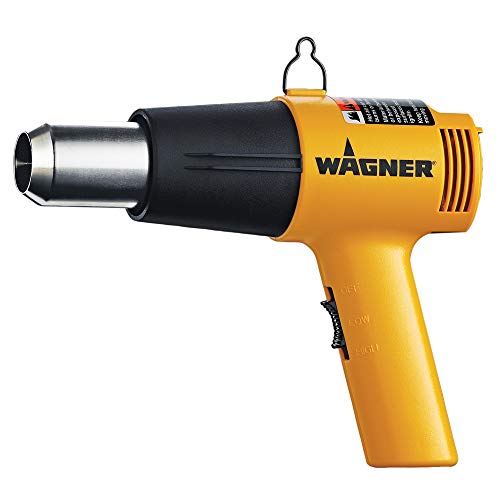
DUAL TEMPERATURE HEAT GUNS: The HT1000 Heat Gun offers a 750ᵒF and 1000ᵒF temperature setting to easily help complete household home improvement tasks

TRUSTED #1 BRAND FOR REMOVING STICKY MESSES: Try it on gum, crayon, tape residue, glue, pen and much, much more. Removes price tags and product stickers with ease!!

DIGITAL TEMPERATURE HEAT GUNS: The FURNO 500 variable temperature heat gun features 12 temperature settings ranging from 150°F to 1200°F, allowing for precise heat application for nearly any project
Solvents, Oils, and Commercial Removers
Solvents, oils, and commercial removers offer distinct options for dissolving gaffer tape residue on different substrates. A technician can use isopropyl alcohol (70–90%), acetone (nail polish remover), or oil like olive oil or WD-40, apply 5–10 drops to a cotton pad. You can let the product sit 3–5 minutes to soften adhesive. For commercial adhesive removers, select Goo Gone or Goof Off, follow label directions, apply thin layer, wait 2–5 minutes. You can then wipe with a microfiber cloth. Test any solvent on a 1 in × 1 in hidden area first to avoid paint damage. After WD-40, you can wash the spot with warm soapy water to remove residue left and prevent film. Always confirm compatibility with the specific surface before full application. High-quality gaffer tapes typically use rubber adhesives that provide strong grip and clean removal.
Recommended Products
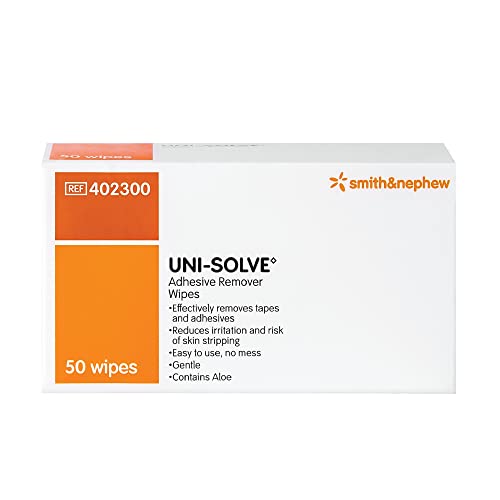
Medical Adhesive Remover: Uni-Solve Adhesive Remover Wipes Soften Residue From The Appliances And Dressing Tape You Use Every Day. They Minimize Skin Trauma Caused By Adhesive Removal And Keep Your Care Routine Running As Smoothly As Possible.
REMOVES REACTIVE ADHESIVES: For use on a variety of substrates

Gentle on Surfaces - Non-corrosive silicone remover solvent that’s gentle enough for use on sensitive surfaces
Cleaning and Restoring the Surface After Removal
Begin by wiping the treated area with a wet microfiber cloth dampened with warm water at about 100°F (38°C). Next, add one drop of mild dish soap to 250 mL (1 cup) warm water, and repeat wiping to remove oily traces. If solvent was used previously, rinse with plain water for 60 seconds. Apply a pH-neutral surface cleaner (model SC-100) per label, using a clean cloth, one pass per 30 cm. Allow 2 minutes dwell, then buff with a dry microfiber towel. Inspect visually and by touch for any remaining residue. Repeat cleaning steps until residue-free. For preparing the surface, guarantee complete drying for 10 minutes and ambient temperature 68°F (20°C). The surface is then ready for further use or application. Document actions taken. When selecting tape, prefer brands noted for strong adhesion to minimize residue.
Tips to Prevent Tape Residue in the Future
To reduce residue, a technician should choose tapes labeled for clean removal, such as painter’s tape (blue, low-tack) or vinyl tape (model VT-200). Storage should be cool, dry, 15–25°C and 30–50% relative humidity, placed on shelves 0.5 m above floor. Apply only needed length, press with palm 2–3 times per 10 cm to set adhesion. If tape is still sticky after removal, test solvent IPA 70% on a 1 cm² area. Replace old tape every 6–12 months, or when edge adhesive strings appear. Masking tape for short-term use is acceptable, but select low-tack grades. As a preventive step, you can apply a silicone release film 25 µm or a thin wax barrier before taping. Inspect surfaces weekly. Document batch; adding notes is good idea. Also consider tapes noted for clean removal and water resistance.
Frequently Asked Questions
How to Remove Gaffer Tape Residue?
VHS-era practitioners advise tape removal techniques: heat, solvents, or warm soapy water; adhesive residue solutions like Goo Gone or alcohol; cleaning surface tips — test first, scrape gently; consider gaffer tape uses to choose method
What Dissolves Gaffer Tape?
Solvents such as Goo Gone, rubbing alcohol, mineral spirits, and applied heat dissolve gaffer tape. One notes adhesive types, tape alternatives, surface protection, and residue prevention when selecting methods to avoid damage and guarantee removal.
What Is the Best Solvent for Tape Residue?
Commercial removers are typically the best choice; acetone effectiveness varies by surface, rubbing alcohol can help lighter residue, a vinegar solution is milder for delicate finishes, and testing on an inconspicuous area is strongly advised.
Does WD-40 Remove Duct Tape Residue?
At the drop of a hat, yes: WD 40 removes duct tape residue, demonstrating WD 40 effectiveness against tape residue challenges; consider alternative residue removers and gentle adhesive removal techniques, carefully first, on sensitive surfaces.