As an Amazon Associate, we earn from qualifying purchases. Some links on this site are affiliate links at no extra cost to you. Our recommendations are based on thorough research and editorial judgment.
Common Mistakes Made With Gaffer Tape and How to Avoid Them
Common gaffer tape mistakes are applying to dirty or oily surfaces, treating tape as a permanent fix, and ignoring temperature limits. Clean surfaces with 70–99% isopropyl alcohol, scrub 30 seconds with a lint-free cloth, then air-dry 60 seconds. Press firmly 30 seconds per 2-inch during application. Stretch tape 10–20 mm and tear at 90 degrees. Remove within 72 hours; GT-series rated -31°F to 176°F. Warm air to 120°F to soften residue; you can learn more.
Key Takeaways
- Applying tape to dirty or oily surfaces reduces adhesion — clean with dry microfiber then 70–99% isopropyl alcohol, scrub 30 seconds, air-dry 60 seconds.
- Using gaffer tape as a permanent fix leads to failure and residue — use epoxy or mechanical fasteners for long-term loads.
- Failing to press firmly causes poor bond — press each 2-inch section for about 30 seconds with consistent pressure.
- Applying tape in direct sunlight, extreme temperatures, or high humidity degrades performance — apply indoors, avoid UV, and keep moisture under 10%.
- Leaving tape on too long increases residue — remove within 72 hours and warm (120°F/49°C) or use Goo Gone for stubborn adhesive.
Using Gaffer Tape on Dirty or Oily Surfaces
You may be interested
Preparation: technicians must clean surfaces before applying gaffer tape to guarantee proper adhesion and prevent premature tape failure. Technicians should use 70–99% isopropyl alcohol, product code IPA-70, in a 3:1 wipe ratio with lint-free cloths. First, remove visible dirt and loose residue with dry microfiber, then apply alcohol and scrub 30 seconds. Allow 60 seconds air-dry before application. For testing, apply a 2-inch strip in a discreet area and wait five minutes to verify adhesive bond. If tape lifts or forms bubbles, repeat cleaning and test again. Use a clean 2×2-inch area for final application, press firmly for 10 seconds. Regular cleaning improves tape performance, longevity, and reduces repeated applications; follow manufacturer shelf-life guidelines, store rolls at 20°C, and rotate stock every six months. Proper storage in logo poly packs can enhance shelf life and usability.
Recommended Products

【Effective Cassette Head Cleaning】Professionally cleans without abrasion—gently removes dust and grime from magnetic heads, pinch rollers, and capstans. Restores sound...
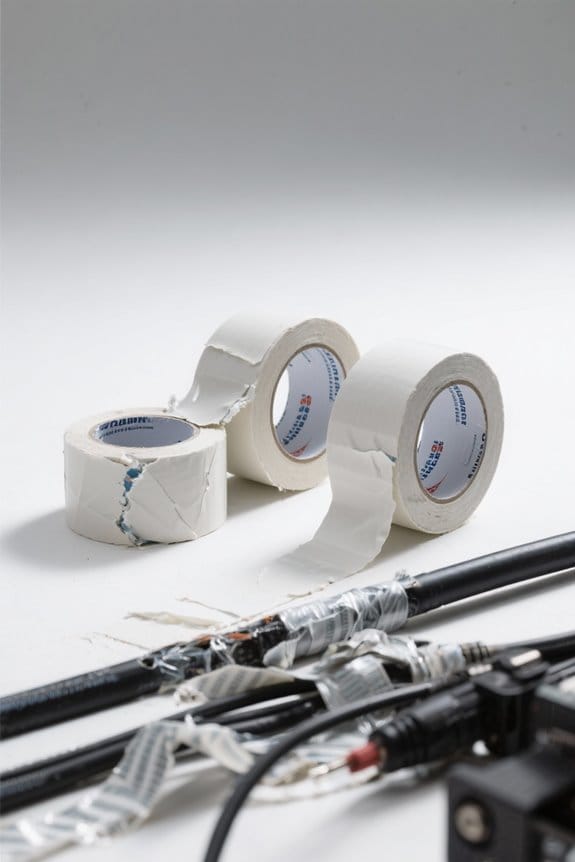
Treating Gaffer Tape as a Permanent Fix Like Duct Tape
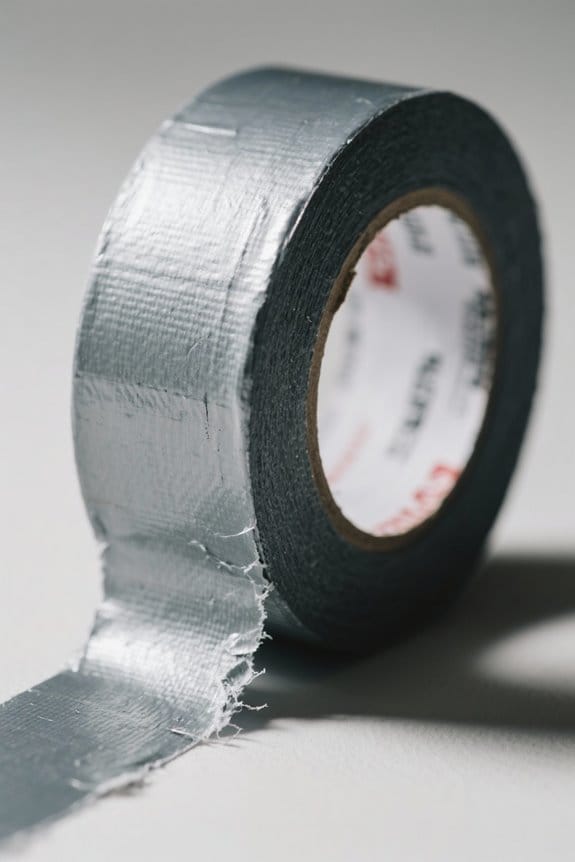
After cleaning with IPA-70 and confirming a good bond, technicians must still avoid using gaffer tape as a permanent fix for repairs. Gaffer is intended as temporary adhesive tape, not engineered for long-lasting adhesion. It typically has lower tack and is easy to remove; choose GT-2 (2-inch) or GT-1.5 for cable runs. measure 2″ overlap, cut with a 45 mm cutter. Step 2: press firmly for 30 seconds per 2″ length. Step 3: remove within 72 hours to prevent sticky residue. This guidance explains uses for gaffer, specifying that prolonged load or outdoor exposure requires certified epoxy or mechanical fasteners. For permanent repairs, use product code PR-EPX-01 or stainless fastener M3x10. Inspect joints monthly, document with photo ID-72, and replace immediately when compromised promptly. Also, technicians should prioritize matte non-reflective cloth gaffer tape to reduce light reflectance in production environments.
Recommended Products

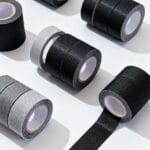
PROFESSIONAL-GRADE HOLD, CLEAN REMOVAL - Premium black gaffer tape with a strong, reliable adhesive that holds cables, cords, and equipment securely while removing cleanly with no sticky residue—ideal for stage, studio, and theater use.

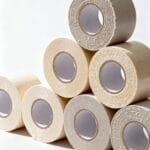
11-mil thick white matte cloth gaffer's tape with rubber adhesive conforms well to irregular surfaces for labeling, and temporary securing and sealing applications

11-mil thick black matte cloth gaffer's tape with rubber adhesive conforms well to irregular surfaces for labeling, and temporary securing and sealing applications
Ignoring Temperature and Environmental Limits
Technicians must respect gaffer tape temperature and environmental limits, which span -31°F to 176°F for GT-series products. Consider the base fiber types—options like cotton or polyester affect abrasion, water, and heat resistance. When using matte gaffer tape, note the temperature limits and do not exceed stated ranges. If ambient temperature approaches 176°F, you can stop using gaffer, cool the area, and select a high-temp alternative. Avoid applying gaffer tapes in direct sunlight for periods, since UV damages the adhesive used and reduces tack. For humid or wet sites, you can clean and dry to <10% relative moisture before applying tape per GT-series instructions. Step-by-step: inspect label for temp code, test a 2-inch sample for 24 hours, document results, then apply fully. Record environmental considerations on site sheets to guarantee compliance and maintain performance of matte gaffer tape in settings.
Recommended Products

High temp Wire Harness Automotive Cloth Tape capable of withstanding harsh temperatures (-40℉ to 250℉) while delivering excellent soundproofing and vibration dampening.

Strong Adhesion with No Residue - Sticks firmly to surfaces like walls, floors, and carpets but removes cleanly without leaving sticky residue behind

Stops leaks from hot air ducts
Applying and Tearing Tape Incorrectly
When moving from temperature checks to application technique, attention must shift to how gaffer tape is applied and torn. Common errors in applying and tearing tape incorrectly include cutting without tension and failing to clean surfaces. Technicians clean with isopropyl alcohol 70% and a lint-free cloth 150×150 mm. They apply black tape at a 45-degree angle, pressing with 10 N force along the length. For tearing, press down at 90 degrees and pull sharply to preserve the full memory of the roll. Do not cut from the roll without pulling taut; stretch 10–20 mm before tearing. Test on delicate surfaces first to guarantee it will not leave any residue. For cable management, lay 20 mm wide strips, matte finish outward for clean low reflectivity. Choose tapes with rubber adhesives for strong grip and clean removal.
Recommended Products

SET IT AND FORGET IT – Tape down cables, props, and equipment with confidence. Your Lockport gaffing tape is specially designed to stick on strong and stay through concerts, shows, conferences, video productions, and photography work. Floor tape for electrical cords.

THE ORIGINAL AMERICAN-MADE PROFESSIONAL GAFFER TAPE – Stop settling for cheap, imported "gaffer-style" tape. Gaffer Power is 100% Made in the USA and engineered to the rigorous specifications of Hollywood film sets, elite theater productions, and high-stakes live events where performance is non-negotiable.

STURDY AND SECURE SETUPS: Perfect for event setups, our 1.88 inch gaffing tape firmly anchors cables, props, and equipment with unbeatable hold. Easy to tear, residue-free, and built tough - it’s the backstage essential for seamless execution.
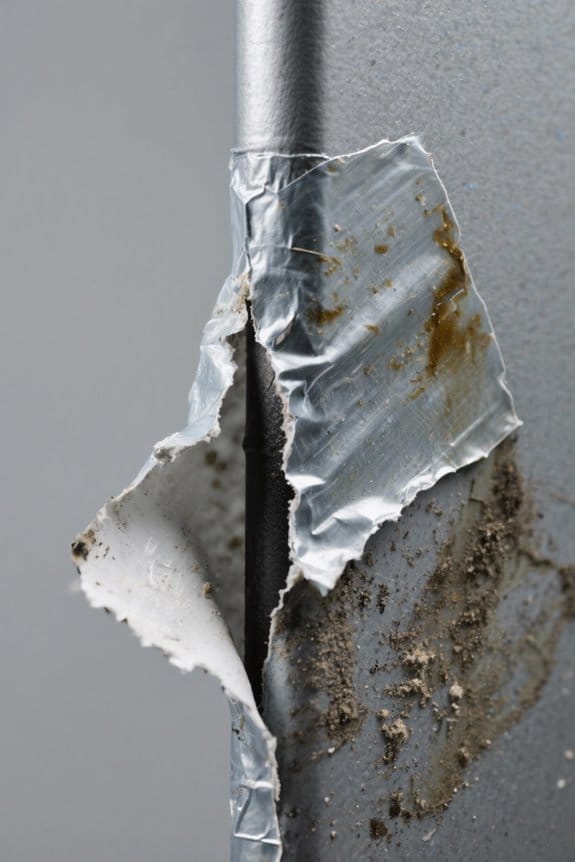
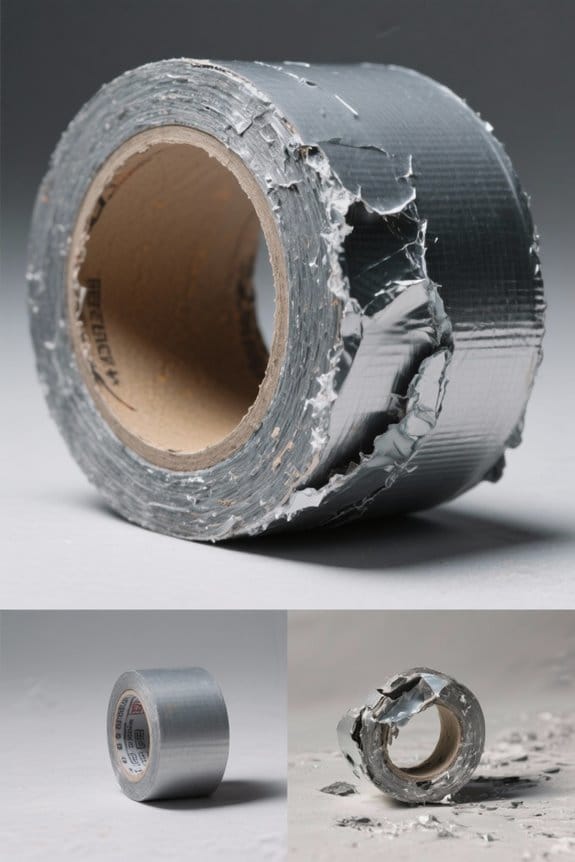
Leaving Tape in Place Too Long or in Direct Sunlight
Prolonged exposure to sunlight causes gaffer tape adhesive to break down, which can damage underlying surfaces and leave stubborn residue. Inspect tape every 24 hours when used outdoors and avoid temperatures above 140°F to optimize performance. Remove gaffer tape within 24–72 hours after use for best adhesive quality. If exposed, follow steps: 1) heat area to 100°F with a temp-controlled heat gun (model GT-201) for 30 seconds, 2) peel back at a 45° angle slowly, 3) clean with isopropyl alcohol 70% using cloth code CL-10. You can store rolls in cool, dark places, ideally 50–70°F and 35–50% relative humidity. Regular checks prevent prolonged exposure to damaging elements and extend tape life. Replace old stock older than 24 months, batch code GTX-100 shows common failures. Gaffer tape is valued for its residue-free adhesives, which help protect delicate surfaces when removed.
Mishandling Residue and Surface Cleanup
One simple test prevents most adhesive problems: apply a 2-inch strip of gaffer tape in a hidden corner for 24 hours. To avoid mishandling residue, observe adhesive reactions and note any discoloration or tack change. For surface cleanup, warm air from a hair dryer set to warm (~120°F/49°C) softens adhesive, you can peel slowly at a 45° angle. If adhesive residue remains, wash with 1 cup warm water, 1 tsp dish soap, and 1 tbsp white vinegar; scrub with a soft brush. For stubborn adhesive residue use Goo Gone (or light fluid/kerosene) applied with a cloth, wipe, then rinse. Always test solvents on a hidden spot first. These steps help clean surfaces and protect finishes when using gaffer tape, and avoid surface damage permanently. Also, prefer products labeled as non-toxic materials and weather-resistant to ensure safety and long-lasting adhesion.
Recommended Products

Thick Spray Gel for adhesives: Goo Gone Adhesive Remover Spray Gel, which won a 2026 Good Housekeeping Cleaning Award, clings to surfaces to dissolve tough sticky messes like glue, stickers, labels, tape residue, gum, grease, wax and decals. The gel formula & glue remover works quickly to loosen adhesives for easy wipe-away cleanup.

TRUSTED #1 BRAND FOR REMOVING STICKY MESSES: Try it on gum, crayon, tape residue, glue, pen and much, much more. Removes price tags and product stickers with ease!!

Frequently Asked Questions
Why Is My Gaffer Tape Not Sticking?
The tape isn’t sticking because surface preparation, material compatibility, compromised adhesive strength from storage conditions, temperature impact, or incorrect application techniques can reduce bonding; addressing cleaning, compatibility checks, proper temperature and pressure restores reliable adhesion.
How to Remove Gaffer Tape Residue?
Like melting snow, one removes gaffer tape residue by applying warm air, solvents scrubbing; removing adhesive residue cleaning methods discussed and residue removal techniques noting surface damage concerns, adhesive properties analysis, and tape application tips.
Does Gaffer Tape Leave a Mark?
Rarely; gaffer tape typically leaves no mark when used properly. Gaffer tape applications, Gaffer tape types, Gaffer tape durability, Gaffer tape color, Gaffer tape safety, and Gaffer tape benefits influence surface outcome and cleaning approach.
What Is a Good Alternative to Gaffer Tape?
A good alternative is painter’s tape for delicate surfaces; otherwise cloth tape or duct tape suit tougher jobs, electrical tape insulates, packaging tape secures parcels, and double sided tape bonds where hidden adhesion is needed.